Beef Basics

Cuts of Beef
The graphic that follows shows you where different cuts of beef come from on the cattle. In various parts of the country the "marketing terms" may be slightly different, but where it comes from on the cattle never varies.

Personally I like any cut that comes from the chuck portion. Chuck has really great flavor due to the fat content. So in our home we love a good sized chuck roast for pot roast, cube steaks cut from the chuck and of course ground chuck meat. There are other cuts I love but not always able to buy. A great steak choice and the most flavorful is the rib eye followed by the porterhouse steak which is actually two cuts of steak in one: the tenderloin and strip.
What to Look For
If you want a really good tasting piece of beef you must look for beef that has a lot of marbling (fat) running through it. This actually applies to pork as well. There is a difference though between fat and sometimes a yellowish or grey looking line of gristle. Also, and especially with roasts, I like a nice fat cap on the meat. Our meat department guys are really good about tying some extra on if need be. Remember fat equals flavor! The more fat running through a steak the more tender it will be as well. Prime Rib is a perfect example - lots of fat in that cut and it's sometimes like cutting through butter. It is easier to cook a thick steak on the grill versus one that is thin as you have a much better chance of not over cooking it. There are a few examples in the photograph below. From the top, left to right: Sirloin steak, spoon roast. Bottom left to right: New York strip steak and beef short ribs.

Cooking Methods
Choosing the right cut of meat for what you are looking to achieve is important and it's also a matter of personal taste and personal budget. With beef you can grill, broil, pan fry, roast or braise. However certain cuts are better for roasting while others are better for braising and some do best with quick pan frying. What I am going to show you here are the cuts I am most familiar with and which technique I use.
- BRAISING: bottom round or chuck roast (for making pot roast), short ribs and the beef shank. Braising is simply getting a good sear on the meat then slow cooking it in liquid until it is tender. The bottom round is best for this application but does not work well as a regular roasted beef where you are looking for rare, medium rare or medium.
- GRILLING: you can grill any cut of steak - sirloin, porterhouse, strip steaks, t-bone steaks, rib eye steaks, etc. If you want some super sensible grilling tips you should check out my post, "Grilling Steak - A Lesson in Beef".
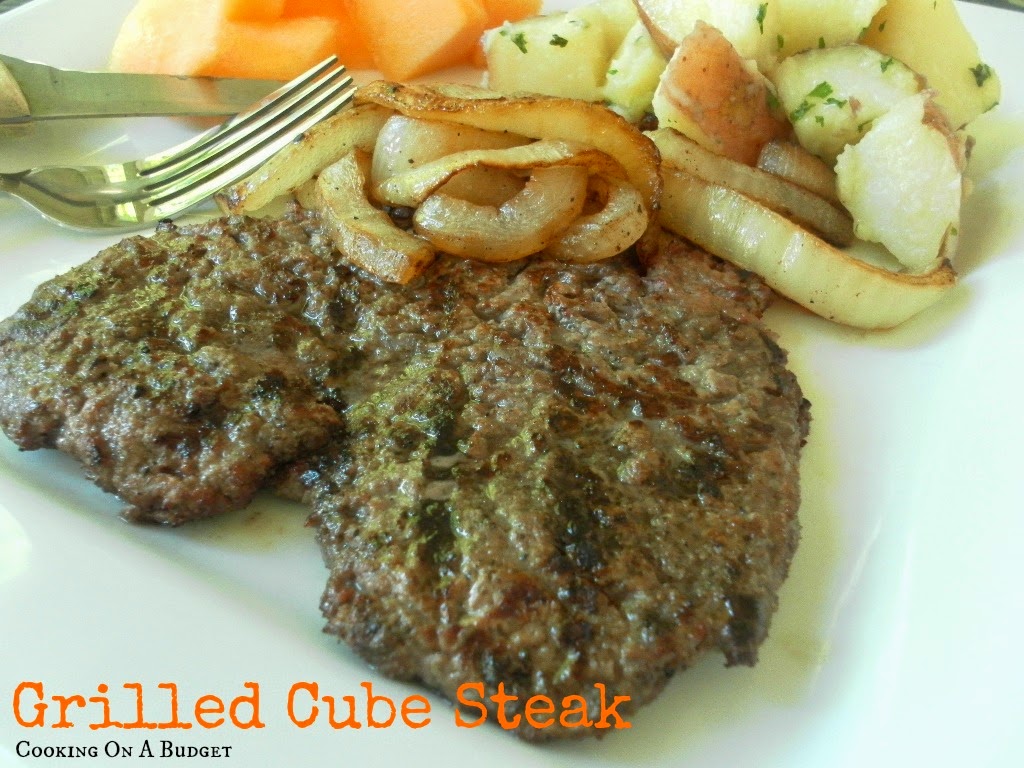
- PAN FRYING: cube steak is the cut I use most often, however I also have pan seared sirloin steak and in some cases finished cooking in the oven. Also that latter method (searing and finishing in the oven) works for cuts like filet Mignon. For instructions and fool proof method for cooking cube steaks and the best you've ever had, check out my post, "Cube Steak with Mushroom and Onion Beef Gravy".
- BROIL: During the winter my mom used to use the oven broiler for doing steaks. Even though I have a gas oven, it's not my preferred method of cooking any steak. If you do this and are not having success at a great steak I have some suggestions. First is before you light the broiler, move the rack to the highest point you can in the oven. Allow the broiler to be on for at least 10 minutes to get the oven hot. Spray your broiler pan with cooking spray and place it under the broiler for a few minutes to get hot. Then pull the rack out and place the seasoned steak on the broiler pan. Check your steak (and this does depend on thickness) after about 2-3 minutes. Try lifting it with tongs - if it won't budge that means it has to cook more. Go a couple more minutes then flip it over and continue to broil until you reach the doneness you like. If you need at hint at doneness check out my post, "Grilling Steak - A Lesson in Beef".
- ROASTING: An eye of the round, a sirloin roast or prime rib are all common examples of cuts that do well with a high sear then a lower temperature to continue roasting until the meat is cooked properly. I address this in my post, "The Perfect Spoon Roast" which I think you'll find can be adapted to the prime rib or even the eye of the round. The eye of the round tastes much better if it's marinated first and again when choosing this cut look for one with a decent fat cap on it.
After you have taken the time to prepare your roast or steak and grill, roast or braise it to perfection using the methods outlined in either "The Perfect Spoon Roast" or "Grilling Steak - A Lesson in Beef" , the next most important step is to come.
Cutting Meat
After you let the beef rest (the meat naturally distributes the juices and even cooks a bit more), which is something that comes highly recommended (so you don't loose all of that great juice), it comes down to slicing the meat. It does not matter whether it is a roast beef, a pot roast or some cut of steak, you always want to slice the meat against the grain.

In this photograph of the spoon roast, the grain was running end to end, so we sliced it side to side.

And with any pot roast or roast beef I think making a great gravy is important. I take you through my steps for making delicious gravy in my post, "How to Make Beef Gravy". I think you'll find it very helpful especially if you've not been successful up until now. I have to say that there are three basic keys to my scrumptious gravies:
- Mirepoix - celery, onion and carrots in the roasting pan
- Campbell's® Beef Broth (very rich, dark and flavorful)
- Gravy Master® - a browning and caramelizing flavoring sauce found in any grocery store

I end up with dark rich beef gravy and have enough to use it in left over make over meals, which is one of the keys to cooking on a budget. I have a fair amount of left-over make-over meals here on the blog and address some of them in Pot Roast Dinner and Beyond. There you will find a number of scrumptious make over meals the family will love - and so will your wallet!
Left over gravy will keep in the refrigerator for 5-7 days. You can also freeze gravy in containers, but be sure to label the container with what it is and the date it went in the freezer. I also use gravy in my homemade soups!

Freezing Beef
If you are planning to get beef in bulk to freeze, my suggestions are:
- Get a vacuum sealer. Check out places like Wal Mart or Target for good prices.
- Try not to freeze beef for longer than 2 weeks without a heat sealer. After that time I personally feel the beef changes and not in a good way.
- Even with a heat sealer - date your bags with when it goes in the freezer and put a use by date. And for me I would say try and keep it to 3-4 weeks maximum freezer time for any cut.
- Use the golden rule: first in, first out when menu planning for your family.
If there is anything I did not address in this post or the related post links and you have questions please feel free to leave your question(s) in the comment section or e-mail me at the address I provide on the right hand side of the blog. I will be more than happy to help if I can.


Comments
Post a Comment